Solved Problème écran décalé
-
Salut tout le monde,
voici ma config,
Raspberry Pi model: Pi3
Recalbox version (build) : Version4.0
Matériels (Micro SD, Power Supply, etc.): micro sd, ecran d'ordi, cable hdmi vers VGAProblème rencontré (même après lecture des posts et des solutions apportées aux uns et aux autres)
Je me construit mon bartop, tout est prêt mais j'ai ce ***** de probème d'affichage sur l'écran: tout est décalé vers la droite...
je ne sais plus quoi faire, après un après-midi passé sur ce forum...
Merci de votre aide.Voilà la config affichée
# System Variable # You can configure your recalbox from here # To set a variable, remove the first ; on the line # ------------ A - System Options ----------- # # Uncomment the system.power.switch you use ;system.power.switch=ATX_RASPI_R2_6 # http://lowpowerlab.com/atxraspi/#installation ;system.power.switch=MAUSBERRY # http://mausberry-circuits.myshopify.com/pages/setup ;system.power.switch=REMOTEPIBOARD_2003 # http://www.msldigital.com/pages/support-for-remotepi-board-2013 ;system.power.switch=REMOTEPIBOARD_2005 # http://www.msldigital.com/pages/support-for-remotepi-board-plus-2015 ;system.power.switch=PIN56ONOFF # https://github.com/recalbox/recalbox-os/wiki/Add-a-start-stop-button-to-your-recalbox-(EN) ;system.power.switch=PIN56PUSH # https://github.com/recalbox/recalbox-os/wiki/Add-a-start-stop-button-to-your-recalbox-(EN) ;system.power.switch=PIN356ONOFFRESET # https://github.com/recalbox/recalbox-os/wiki/Add-a-start-stop-button-to-your-recalbox-(EN) ## Recalbox Manager (http manager) system.manager.enabled=1 ## Recalbox API (REST) system.api.enabled=0 ## EmulationStation menu style ## default -> default all options menu ## none -> no menu except the game search menu ## bartop -> less menu, only needed for bartops system.es.menu=default ## Emulator special keys ## default -> default all special keys ## nomenu -> cannot popup the emulator menu ## none -> no special keys in emulators system.emulators.specialkeys=default ## Show or hide kodi in emulationstation (0,1) kodi.enabled=1 ## Start kodi at launch (0,1) kodi.atstartup=0 ## set x button shortcut (0,1) kodi.xbutton=1 ## Kodi can wait for a network component before starting ## waithost is the ip or hostname that must answer to a ping to validate the availability ## waittime is the maximum time waited when kodi boots ## if waitmode is required, kodi will not start if the component is not available ## if waitmode is wish, kodi will start if the component is not available ## if waitmode is not set or has another value, kodi will start immediately ;kodi.network.waitmode=required ;kodi.network.waittime=10 ;kodi.network.waithost=192.168.0.50 # ------------ B - Network ------------ # ## Set system hostname system.hostname=RECALBOX ## Activate wifi (0,1) wifi.enabled=1 ## Wifi SSID (string) wifi.ssid=BTHOTSPOT-A921 ## Wifi KEY (string) ## Escape your special chars (# ; $) with a backslash : $ => \$ wifi.key=7T50419G ## Samba share system.samba.enabled=1 ### Virtual Gamepads system.virtual-gamepads.enabled=1 ### SSH system.ssh.enabled=1 # ------------ C - Audio ------------ # ## Set the audio device (auto, hdmi, jack) audio.device=auto ## Set system volume (0..100) audio.volume=100 ## Enable or disable system sounds in ES (0,1) audio.bgmusic=1 # -------------- D - Controllers ----------------- # # Enable support for standard bluetooth controllers controllers.bluetooth.enabled=1 ## Please enable only one of these # -------------- D1 - PS3 Controllers ------------ # ##Enable PS3 controllers support controllers.ps3.enabled=1 ## Choose an driver between official, shanwan and gasia if you have dualshock clones (official,shanwan,gasia) controllers.ps3.driver=official # ------------ D2 - XBOX Controllers ------------ # ## Xbox controllers are already supported, but xboxdrv can solve some compatibility issues ## Enable xboxdrv driver, disable this if you enabled ps3 controllers (0,1) controllers.xboxdrv.enabled=0 ## Set the amount of controllers to use with xboxdrv (0..4) controllers.xboxdrv.nbcontrols=2 # ------------ D3 - GPIO Controllers ------------ # ## GPIO Controllers ## enable controllers on GPIO with mk_arcarde_joystick_rpi (0,1) controllers.gpio.enabled=0 ## mk_gpio arguments, map=1 for one controller, map=1,2 for 2 (map=1,map=1,2) controllers.gpio.args=map=1,2 ## DB9 Controllers ## Enable DB9 drivers for atari, megadrive, amiga controllers (0,1) controllers.db9.enabled=0 ## db9 arguments controllers.db9.args=map=1 ## Gamecon controllers ## Enable gamecon controllers, for nes, snes psx (0,1) controllers.gamecon.enabled=0 ## gamecon_args controllers.gamecon.args=map=1 ## XGaming's XArcade Tankstik and other compatible devices controllers.xarcade.enabled=1 # ------------ F - Language and keyboard ------------ # ## Set the language of the system (fr_FR,en_US,en_GB,de_DE,pt_BR,es_ES,it_IT,eu_ES,tr_TR,zh_CN) system.language=fr_FR ## set the keyboard layout (fr,en,de,us,es) ;system.kblayout=us ## Set you local time ## Select your timezone from : ls /usr/share/zoneinfo/ (string) ;system.timezone=Europe/Paris # ------------ G - UPDATES ------------ # ## Automatically check for updates at start (0,1) updates.enabled=1 # default : stable ; set to beta to get the next version currently being tested. set to unstable at your own risk to get the development version. updates.type=stable # ------------ H - HERE IT IS - GLOBAL EMULATOR CONFIGURATION ------------ # ## The global value will be used for all emulators, except if the value ## is redefined in the emulator ## Set game resolution for emulators ## select your mode from the command : tvservice -m [MODE] ## CEA 5 HDMI : 1920x1080 @ 60Hz 16:9, clock:74MHz interlaced ## CEA 4 HDMI : 1280x720 @ 60Hz 16:9, clock:74MHz progressive ## use 'default' for using the default resolution ## (string) global.videomode=DMT 47 HDMI ## Shader set ## Automatically select shaders for all systems ## (none, retro, scanlines) global.shaderset=retro ## Once enabled, your screen will be cropped, and you will have a pixel perfect image (0,1) global.integerscale=1 ## Set gpslp shader for all emulators (prefer shadersets above). Absolute path (string) global.shaders= ## Set ratio for all emulators (auto,4/3,16/9,16/10,custom) global.ratio=4/3 ## Set smooth for all emulators (0,1) global.smooth=1 ## Set rewind for all emulators (0,1) global.rewind=1 ## Set autosave/load savestate for all emulators (0,1) global.autosave=1 ## Enable retroarchievements (0,1) ## Set your www.retroachievements.org username/password ## Escape your special chars (# ; $) with a backslash : $ => \$ global.retroachievements=0 global.retroachievements.username= global.retroachievements.password= ## Set retroarch input driver (auto, udev, sdl2) ## If you don't have issues with your controllers, let auto global.inputdriver=auto ## If you do not want recalboxOS to generate the configuration for all emulators (string) ;global.configfile=/path/to/my/configfile.cfg # ------------ I - EMULATORS CHOICES ----------- # ## You can override the global configuration here ## Here is the snes example ;snes.videomode=CEA 4 HDMI snes.core=snes9x_next ;snes.shaders=/recalbox/share/shaders/shaders_glsl/mysnesshader.gplsp ;snes.ratio=16/9 ;snes.smooth=0 ;snes.rewind=1 ;snes.autosave=0 snes.emulator=default ;snes.integerscale=0 ## If you do not want recalboxOS to generate the configuration for the emulator : ;snes.configfile=/path/to/my/configfile.cfg ## Default cores for RPi3 snes.core=snes9x_next gba.core=mgba mame.core=mame078 nes.core=fceunext ## NeoGeo emulator ## You can use pifba or a libretro core (fba2x,libretro) neogeo.emulator=libretro ## If you set libretro as neogeo.emulator, the line below sets the retroarch core (fba,imame4all) neogeo.core=fba ## N64 emulator is configured to display a screen with a 640x480 resolution (native n64 resolution) ## So you must use one of these video modes (DMT 4 HDMI,CEA 1 HDMI). ## If your screen is not compatible with one of these video modes, please check the recalbox's wiki. n64.videomode=DMT 4 HDMI ## If you are using a CRT screen, please change the setting above with this one : # n64.videomode=default ## Configurations generated by Recalbox -
@Thomas-Blottiau Bonjour,
Pourrais-tu préciser quel est ton écran ?
Former dev - Please reply with @substring so that i am notified when you answer me
Ex dev - Merci de me répondre en utilisant @substring pour que je sois notifé -
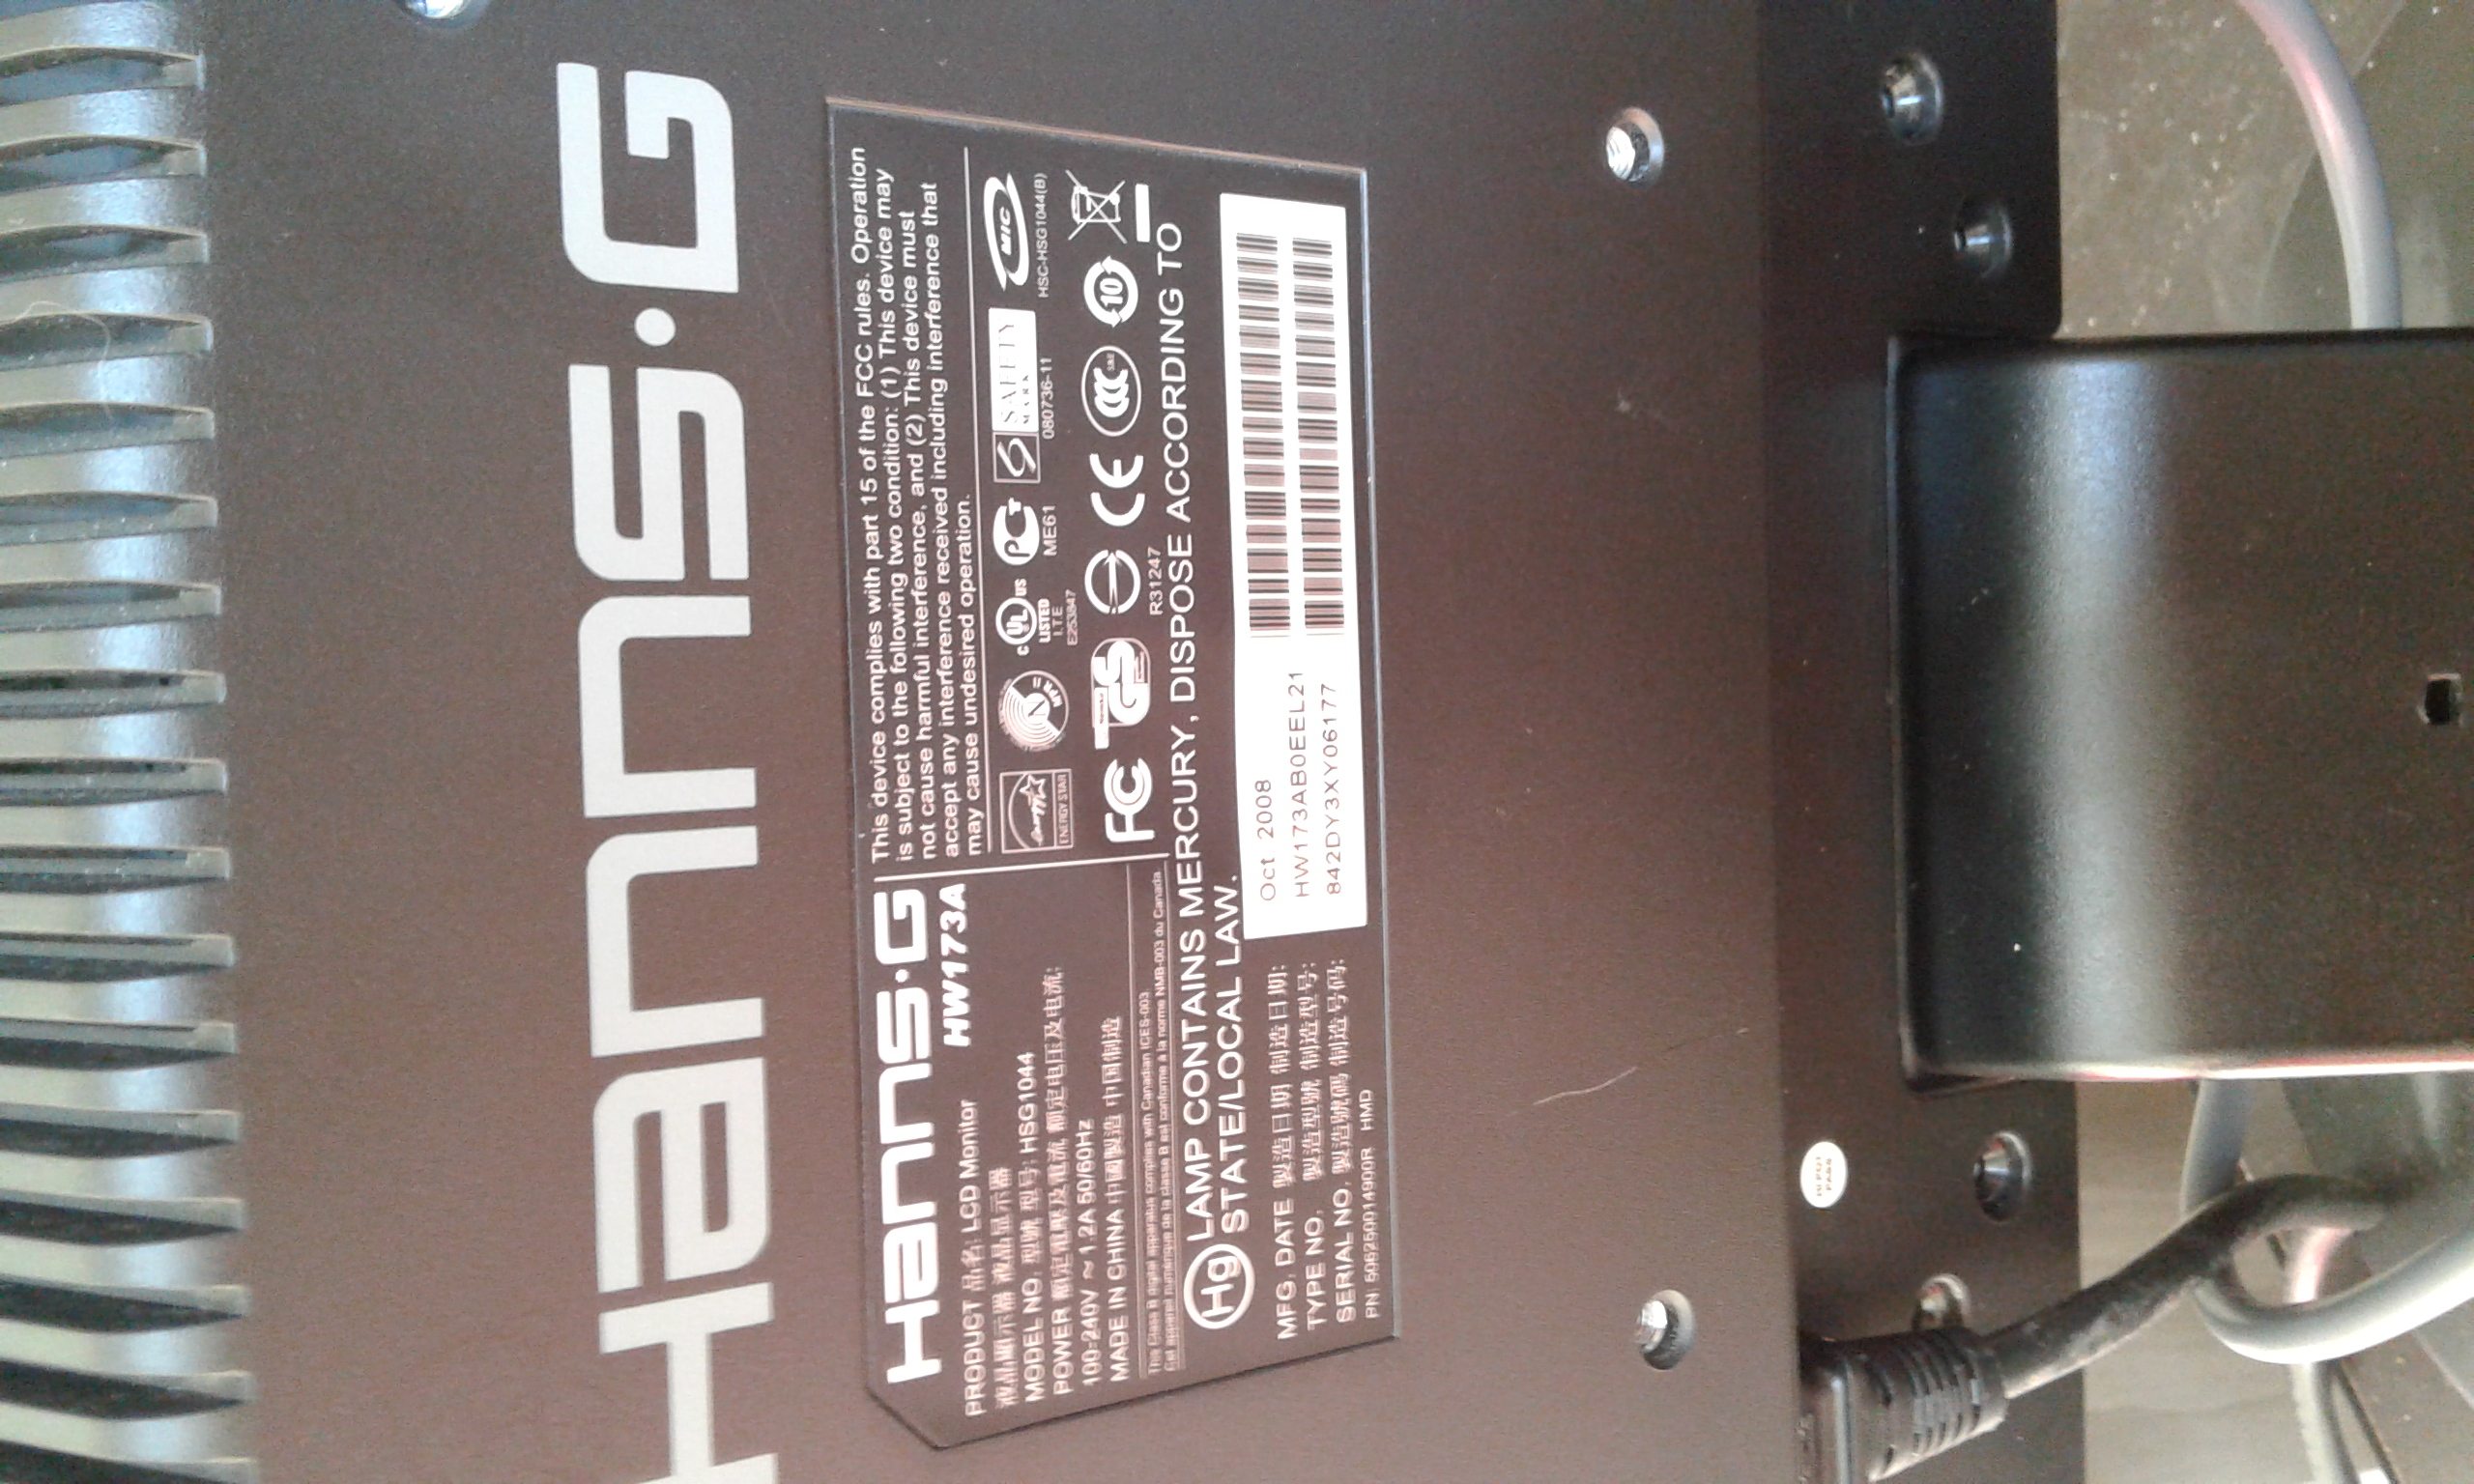
@Substring Bonjour, voici la référence de l'écran !
-
@Thomas-Blottiau as-tu lu https://github.com/recalbox/recalbox-os/wiki/Video-configuration-detailled-(EN) ?
Pourquoi ne pas avoir mis
global.videomode=default?L'écran est décalé quand ? Dans ES ou en cours d'émulation ? les 2 ?
As-tu modifié ton config.txt ?
Former dev - Please reply with @substring so that i am notified when you answer me
Ex dev - Merci de me répondre en utilisant @substring pour que je sois notifé -
@Substring j'ai ré installé la version 4.0 de recalbox d'origine (avec les paramètres par défaut).
je viens de modifier la ligne: global.videomode=default
rien n'a changé.
L'écran est décalé dès son allumage (ES + émulation)...
Je sèche... -
Si tu es décalé depuis le début et que tu utilises un adaptateur.
il faut modifier ce paramètre avant : https://github.com/recalbox/recalbox-os/wiki/Connectez-votre-recalbox-à-un-écran-DVI-(FR) -
@acris je teste, merci!
-
@Thomas-Blottiau Réglé! merci tout le monde!
